This may sound Top Gun-esque, but users always have a need for speed. Think about it. Have you ever thought, “I wish this webpage would load slower?” And it’s not just because technological advances have skewed our expectations in favor of the fast lane. Rather a page’s load time has become an issue of equity and social justice.
We rely on the internet more now than ever to provide basic information and services. But economic inequality or geography means users are accessing the internet on devices and networks with a wide spectrum of speeds. To build webpages to perform as identically as possible in all conditions is to show care and consideration for all users. One of the biggest impacts you can make on load speed is optimizing your images.
What is Image Optimization?
Images, and media in general for that matter, account for the biggest bandwidth draw when loading a webpage. That’s because, in comparison to just straight text, these files tend to be larger and thus take longer for a browser to load from the server. Image optimization may sound like a technical term, but all it really means is to size down your image files to support a shorter load time.
There’s no hard and fast rule for how small your files need to be to get the best performance but staying under 500 KB per file is a general benchmark. When optimizing, you need to balance the image quality you want with the perceived importance of speed for a page. Other factors in your decision might be data about the most used devices amongst your site’s users and the positioning or purpose of the image itself.
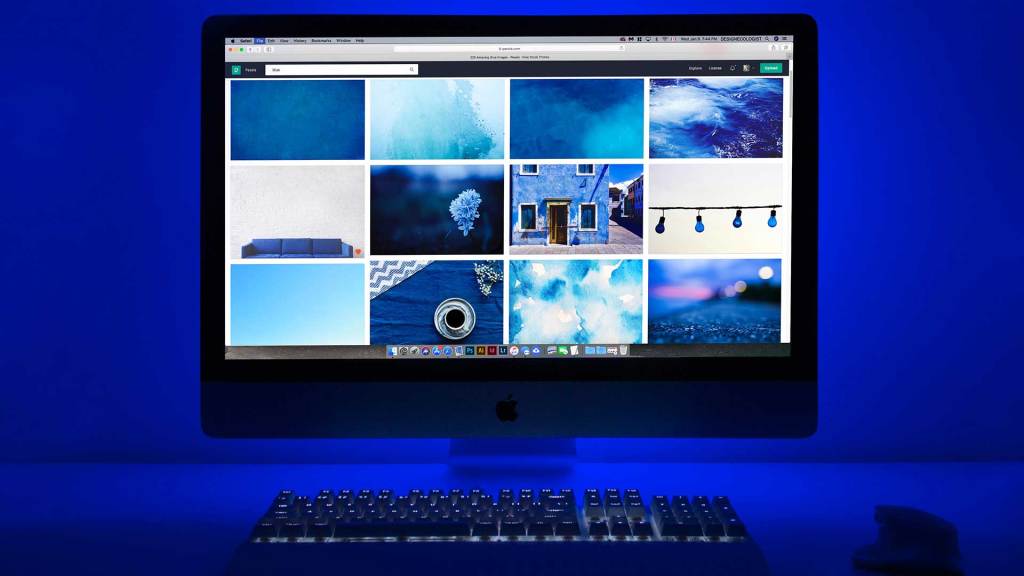
For example, if almost all your users access your site from a phone or mobile network, then sacrificing a little image quality for load speed may be worth it to improve the user experience. The reality is 47% of users expect a page to load in 2 seconds. That metric is hard to ignore if your user base is dependent on less reliable networks and devices with less processing capabilities.
If, on the other hand, most of your users access your site via a hi-speed home Wi-Fi connection or desktop device and the image you’re optimizing is a hero image meant to draw users into a page, the benefits of a slightly higher quality image may outweigh the drawback of a slightly longer load time.
How many images are on a single page is also an important consideration because you don’t want to hedge your bets too often in favor of quality and accidentally end up with a heavy load. And considerations like these are not just important for users, but also for the overall performance of your site.
Along with user experience, load speed and image optimization can affect your site’s search engine optimization (SEO). Search engines, such as Google, prioritize load speed in their search result rankings. If search engines are top referrers to your site or you’re hoping to outrank competitors in search, then image optimization needs to be part of your SEO efforts.
How to Optimize Images
There are a few ways you can optimize your images, including:
1. Reduce file size via editing
This is the most traditional way to decrease the size of an image file before uploading it. With this approach you need image editing software – Photoshop being one of the best options. In Photoshop you simply open your image, size it to the dimensions your site requires, then choose File > Export > Save for Web.
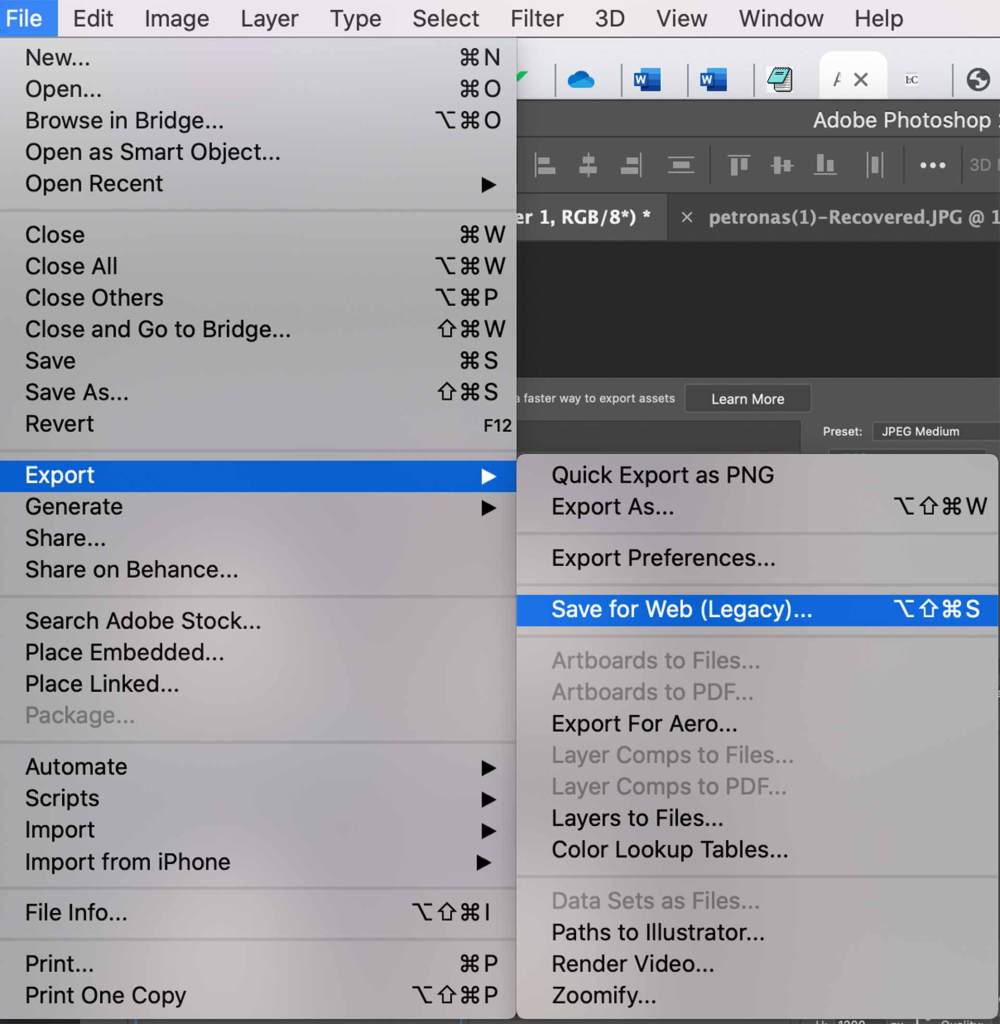
This will give you multiple options for how to view and see the file size of your image at varying quality levels. I suggest the 4-pane view as seen below.

Just choose the quality level you think works best and save your image. The default quality level is set at 60 which is high quality. This generally works well for web images, but feel free to use the quality slider to customize.
Looking at the 4 panes above you can see how this image, when zoomed in, starts to show more pixelation or artifacts at medium quality and below. Depending on the placement and size of this image on a site, you might be okay with exporting it in medium quality.
You need to consider, though, whether you think such differences would negatively impact the effect you’re hoping to have with the image on your site. Images can boost user’s opinions, but poor-quality ones can be a detriment.
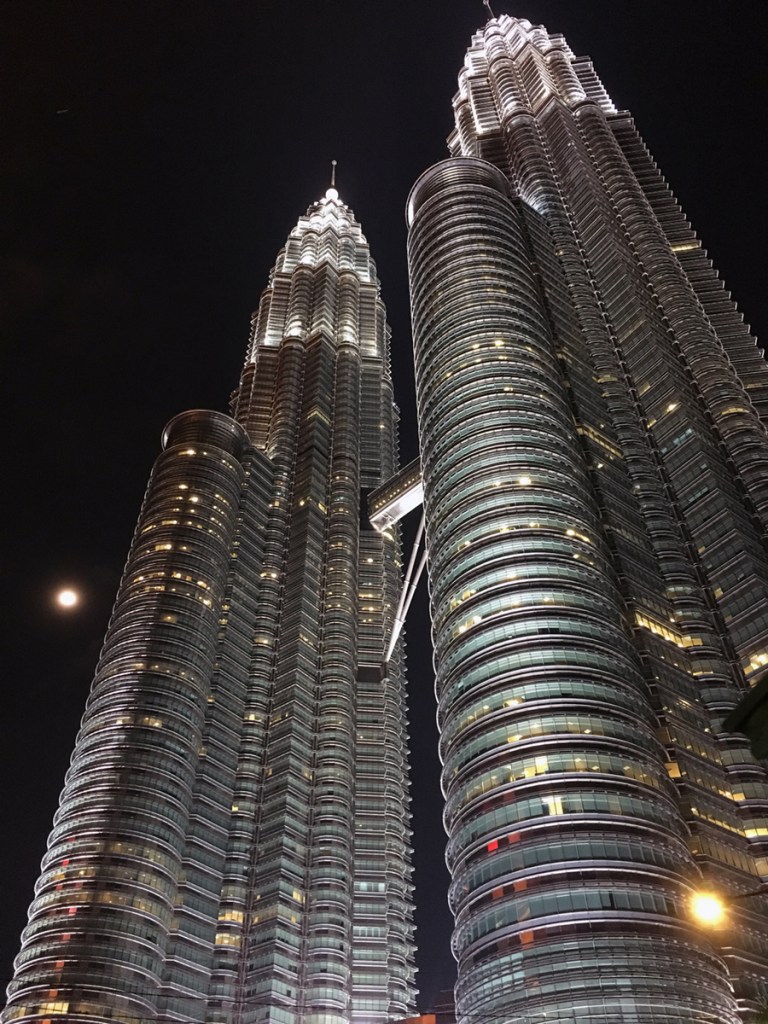
In my example, I started out with the above image which had an original file size of 983 KB. It’s not huge, but it’s still not ideal for web. Just by using this process in Photoshop with my image quality set to 60 I was able to reduce this image’s file size to 310 KB. That’s an almost 70% decrease! And if you look at my resulting image below, you can see little discernible difference in image quality.

2. Reduce file size via compression
Compression strips out all the unnecessary data in your image file, such as location and camera information. This data is usually unrelated to the function or appearance of your image on your site, so it just takes up space in your file, making it bigger.
There are several apps you can download easily that you can run your files through to extract this data before upload and if you’re using a content management system (CMS), like WordPress, there are many plug-ins you can install that automatically compress and optimize your images after upload.
I used a desktop app called ImageOptim. Just by dragging and dropping my file into it, I was able to reduce my file size by an additional 4% to 296 KB. And image quality was not affected at all, as you can see below.

3. Choose the right file Format
This may seem arbitrary but choosing the right file format can automatically optimize an image for the web. There are 2 general formats that image files can be: vector (SVG, PDF) and raster (JPG or JPEG, PNG, GIF).
Vector files can scale in size without losing image quality, making them ideal for supporting responsive design, and they tend to be smaller in size than raster files. Raster files like JPGs, though, can offer a larger color spectrum, making them better for things like photos.
You may need to use larger raster files if your site heavily depends on photography, for example. In which case the first 2 options on this list here are very important for optimization. But you can also be sure to use vector formats for logos and other graphic images to offset the load of the raster files.
4. Use a content delivery network (CDN)
CDNs are services to which you upload your content, like images, and that host your content for your site. They specialize in transforming, optimizing, and delivering customized versions of images for each client (device). This is great for supporting responsive design and performance.
Instead of serving the same file to every device, potentially slowing down and hampering the performance of your site on certain devices, or requiring you to create and upload each image file in multiple sizes, CDNs do the work for you and make sure each device has just the right size file.
5. Lazy-load images
If it requires a lot of work to load everything at once, why not be lazy and load things when and if you need them later? This is the philosophy behind lazy-loading images which is a great way to speed up page load without sacrificing the quality or number of images you want to include. Users only need the top images on a page when they first arrive, and many may never scroll all the way down the page so why bother wasting energy and time loading everything when they first get there.
<img src=”example.jpg” loading=”lazy” alt=”example” />
Lazy-loading is accomplished in multiple ways by using code in the HTML, CSS, and JavaScript of a page. These pieces of code, such as the HTML attribute seen above, delay the load of an image until that image is necessary for the user, such as when they scroll to it or are about to scroll to it.
One other approach once an image is onscreen is to initially load a lower quality image so the user can immediately see something, then load the higher quality image that takes longer. The user will notice a transition in quality, but not perceive this as an annoying delay in the whole page loading. It’s a little smoke and mirrors but it works. Check out below how the initial load (left) and final load (right) of a lazy-loading image in a Medium article compare.

Optimize, Optimize, Optimize
So much of how users perceive and judge the world is based on visuals. Opting out of images entirely on your website just for speed then is not a good idea. But it’s also not a good idea to just dump that 500 MB photo on to your site and call it a day. Make the effort to optimize your images as much as you can to ensure they remain effective while not negatively impacting your site’s load experience.
References
Desmarais, E. (2016, March 21). 5 tips for choosing images that’ll make your content engagement skyrocket. Contently. Retrieved from https://contently.com/2016/03/21/images-content-engagement-skyrocket/
Grigorik, I. (2020, June 18). Choose the correct level of compressions. Google. Retrieved from https://web.dev/compress-images/
Grigorik, I. (2020, June 18). Choose the right image format. Google. Retrieved from https://web.dev/choose-the-right-image-format/
Hempenius, K. (2019, August 14). Use image CDNs to optimize images. Google. Retrieved from https://web.dev/image-cdns/
Jackson, B. (2020, June 30). How to optimize images for web and performance. Kinsta. Retrieved from https://kinsta.com/blog/optimize-images-for-web/
Lazazzera, R. Optimizing images for web: A practical guide. A Better Lemonade Stand. Retrieved from https://www.abetterlemonadestand.com/optimizing-images-for-web/
Optimizing images for web. Inobscuro. Retrieved from http://inobscuro.com/tutorials/optimizing-images-for-web-35
Wagner, J. & Andrew, R. (2020, June 9). Lazy-loading images. Google. Retrieved from https://web.dev/lazy-loading-images/
Wagner, J. & Andrew, R. (2020, June 9). Use lazy-loading to improve loading speed. Google. Retrieved from https://web.dev/lazy-loading/
Vita, A. (2020, February 24). How to optimize images for website performance: image sizes, compression, tools & testing. Foreground Web. Retrieved from https://www.foregroundweb.com/image-size/